The Story
I remember back when we were first married, one of our favorite things to serve when we hosted people was appetizers and drinks. It was fairly easy to prepare, and everybody loves appetizers! They help hold you over until the main meal, or serve as a great late night bite. Thinking back to those times, I am pretty sure most of the appetizers I made included a brick of cream cheese. Also, most of our events started by the time we are winding down on most nights now. Oh how the times have changed!
Now that I’m a macro counter, I still love appetizers. However, most of them aren’t the easiest to fit into your day (remember the cream cheese?). Usually I’m just focused on getting to the main meal, but sometimes it is fun to have an appetizer to kind of help fill the void in your stomach before dinner. I’ll be honest, half the time I’m having a little “appetizer” (read: handful of goldfish) before dinner anyway!
If we are reaching for an appetizer one of our go-to recipes is bean dip. I know, a very clever name. HA! I have also seen it called “Texas Trash” on pinterest, but we have always called this dish by bean dip. But for what it lacks in originality name wise, it makes up for with flavors that everybody loves. Plus, it is a simple recipe that anybody can throw together. We have been making it in our family for years, and we all love it!
The Recipe
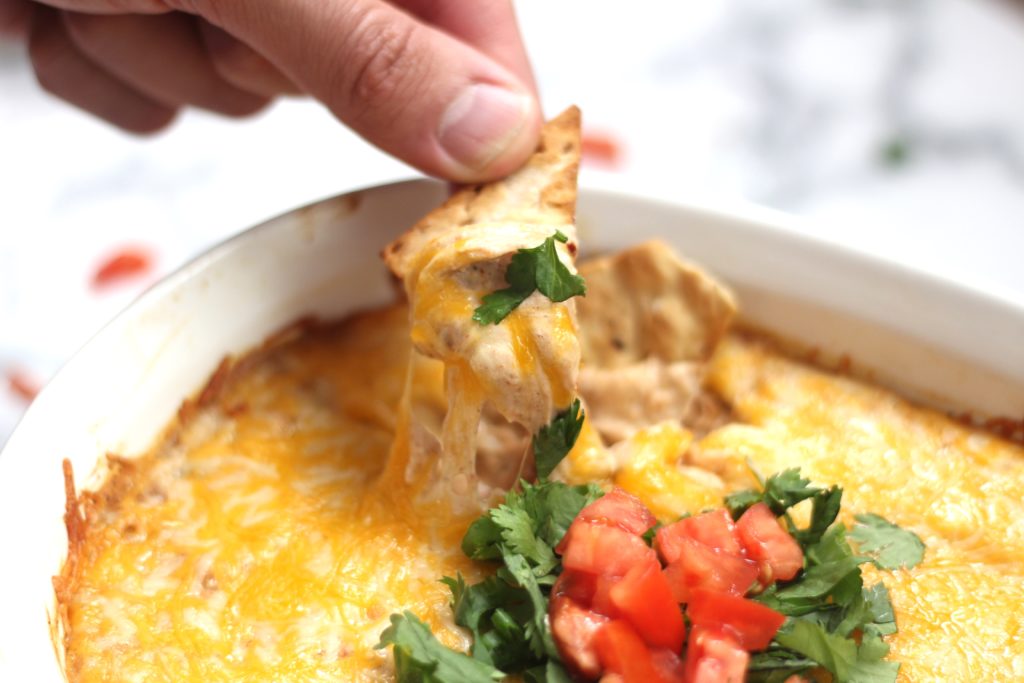
The base of the recipe is a can of refried beans. Then you add a brick of cream cheese, a cup of sour cream, taco seasoning, and jalapenos (if you desire some heat). You mix it together and then throw cheese on top, and in the oven it becomes an ooey and gooey and full of that traditional taco flavor. Top it with some fresh elements like cilantro, green onion, and tomato, serve it with chips, and you’ve got a winner!
To make this more macro friendly, I made some simple swaps. I used a can of fat free refried beans, lighter cream cheese and non fat Greek yogurt, and less cheese. If you are skeptical of the Greek yogurt, you can sub out at cup of light sour cream, and it’ll just add 20 calories a serving, a bit more fat, and a gram less of protein.
What can really make this light and so easy to fit in your macros is using chips that you make in the air fryer. If you’ve seen my posts lately, you know that I’ve been obsessing about air frying lavash bread! To make these chips, you simply spray some lavash wrap cut into chip pieces with cooking spray. Then toss them in a bowl with lime juice and garlic salt as desired and air fry until crispy.
The Logging
To help you with logging this recipe, I created a recipe in MyFitnessPal for just the bean dip. Macros for 75 g of the bean dip are rouned to 6F/8C/7P or 107 calories. Macros for chips will vary depending on what type of lavash wrap you use, so I would just say log the lavash that you are using and call it good. Don’t worry about the minimal calories from the lime juice!
Bean Dip and Garlic Lime "Chips"
Ingredients
Skinnier Bean Dip
- 1 can Fat Free Refried Beans (I like the zetsy salsa from Rosarita's)
- 1 brick light cream cheese, softened
- 255 g non fat Greek yogurt (or sub light sour cream, if desired. Will change the macros a bit)
- 2 tbsp taco seasoning (or one packet)
- 56 g shredded cheese (I used cheddar)
- chopped jalapenos, green onions, cilantro, tomatoes, as desired
Garlic Lime "Chips"
- 1 Joseph's Lavash Wrap (or lavash bread, tortilla, etc. of your choice)
- cooking spray
- garlic salt, to taste
- lime juice, to taste (I used about 1/4 tsp)
Instructions
Skinnier Bean Dip
- Preheat oven to 350 degrees.
- In a medium sized bowl, combine the can of refried beans, Greek yogurt, cream cheese, and taco seasoning until completely combined. Make sure the cream cheese is smooth!
- Transfer bean mixture into a medium sized pan (I used a corningware 1.5L). Top with shredded cheese. Bake at 350 for 20-30 minutes or until hot and bubbly.
Garlic Lime "Chips"
- Preheat your air fryer to 400 degrees.
- Slice lavash wrap into chip sized pieces (triangle or squares or whatever your heart desires!). Spray them with cooking spray. Place them into a bowl with garlic salt, to taste, and lime juice. Toss to coat them.
- Place them in the preheated air fryer for 1 minute. Check on them and give them a good shake. Continue cooking them until they are crispy, about 1-2 minutes more.
- Chips can always be made in the oven at 400 degrees for a couple of minutes. Watch them carefully, however, because they burn quickly!

